Common Sprouting Pitfalls: Troubleshooting Mold, Odor, and Other Surprises
Share
Sprouting seeds at home should be a rewarding process that yields fresh, nutritious greens in just days. However, even experienced sprouters can encounter frustrating hurdles like mold, musty smells, or a slimy texture. Below, we’ll explore the most common pitfalls and how to address or avoid them altogether.
1. Mold Madness: Identifying and Addressing Fungal Growth
Why Mold Occurs
- Excess Moisture: Sprouts need consistent moisture to germinate, but too much water without adequate drainage creates a breeding ground for mold and fungus.
- Poor Airflow: Crowded seeds or tightly sealed containers trap humidity, encouraging microbial growth.
- Contaminated Seeds or Equipment: Even if you start with high-quality seeds, unsanitized jars or trays can introduce pathogens.
How to Tackle Mold
-
Improve Drainage and Airflow
- After each rinse, tilt your jar or tray so that excess water can fully drain.
- Try specialized sprouting lids with mesh screens or invest in a tray system with built-in drainage channels.
-
Rinse More Frequently
- Most sprouters rinse 2–3 times per day, but if you live in a humid or warm environment, rinsing more often can help control mold growth.
-
Check Your Seed-to-Container Ratio
- Overcrowding leads to competition for oxygen and space. Use fewer seeds or larger containers. A common mistake is using more seeds than the sprouting vessel can handle.
-
Sanitize Equipment
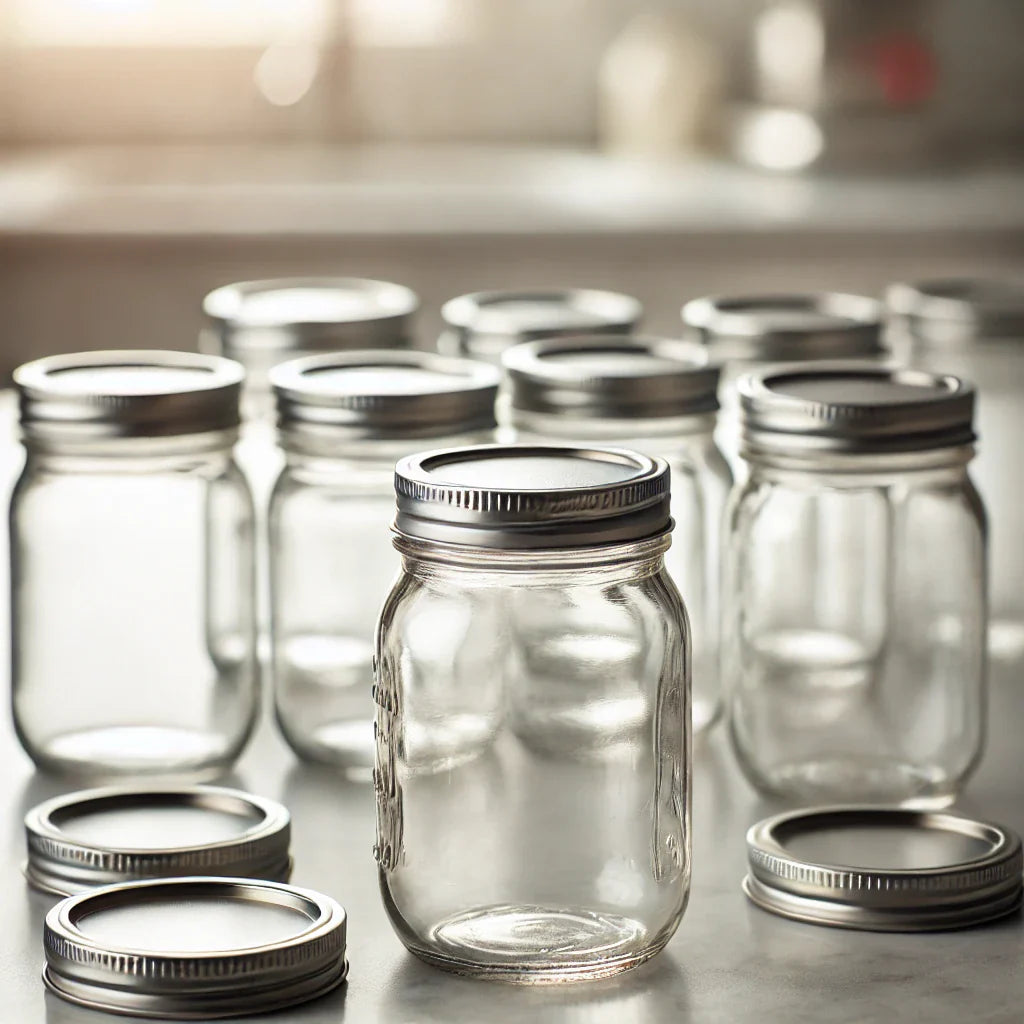
- Before each new batch, wash your jars, lids, and trays with hot, soapy water (or a solution of water and white vinegar). This simple step goes a long way.
(Safety Note: It’s crucial to dispose of sprouts that develop a fuzzy, discolored mold—just rinsing won’t necessarily make them safe again.)
2. The Unpleasant Aroma: Dealing with Odors
Why Odor Happens
- Bacterial Buildup: Bacteria flourish in warm, damp conditions, especially if seeds aren’t rinsed thoroughly.
- Spoiled Seeds: Occasionally, you might encounter a bad batch of seeds that decays faster than normal.
- Stagnant Water: If you’re not fully draining your sprouts, water that collects at the bottom can quickly turn rancid.
How to Keep Things Smelling Fresh
-
Smell-Check Daily
- Give your sprouting jar a quick sniff whenever you rinse. A light, fresh, “green” smell is normal. Sour or musty odors indicate it’s time to discard the batch.
-
Use Cool Water for Rinses
- Warm water can accelerate bacterial growth. Opt for cool or room-temperature water during each rinse.
-
Store in Proper Conditions
- Sprouts thrive in a spot that’s well-lit but not overly warm. Extremely high temperatures can speed up microbial growth, leading to off-odors.
-
Try Different Seed Varieties
- Certain seeds (like broccoli or radish) have a more pungent scent that might be mistaken for spoilage. If you’re sensitive to strong smells, start with milder seeds like alfalfa.
3. Slimy, Sticky, or Discolored Sprouts
Why It Happens
- Over-Rinsing or Over-Soaking: Extended soaking times can encourage a film-like coating on sprouts.
- Excess Debris: Seed hulls or broken seed fragments left unremoved can stick to sprouts and cause sliminess.
- Lack of Airflow (Again!): Inadequate airflow is a recurring culprit—without good ventilation, sprouts can become slimy and clump together.
Preventing and Fixing Sliminess
-
Proper Soaking Times
- Soak most seeds for about 8 hours (some larger seeds like chickpeas might need 12). Avoid leaving them in water longer than necessary.
-
Thorough Rinsing
- When rinsing, gently swirl the sprouts to loosen and wash away debris.
-
De-Hulling Techniques
- For hull-heavy seeds (like sunflower or buckwheat), remove seed hulls by skimming them off during rinses or transferring your sprouts into a bowl of water and letting the hulls float up.
4. Temperature and Humidity Challenges
Hot and Humid Conditions
- Issue: Faster microbial growth, leading to spoilage and mold.
- Solution: Rinse more often (3–4 times a day) and keep jars in a cooler location. You could also experiment with small fans or specialized sprouting lids designed to maximize airflow.
Cold and Dry Conditions
- Issue: Slower germination or uneven sprouting.
- Solution: Ensure consistent moisture by not letting seeds dry out. If your home is very cold, consider a warming mat designed for seedlings or place sprouts in an environment that stays around 68–72°F (20–22°C).
(Speculative Tip: In the future, we might see precision sprouting devices that automatically regulate temperature and humidity—similar to modern sous-vide cookers. If you spot such a product, it could drastically cut down on mold or odor issues. Flaggedasspeculative)
5. Best Practices for Consistent, Delicious Sprouts
-
Choose High-Quality Seeds
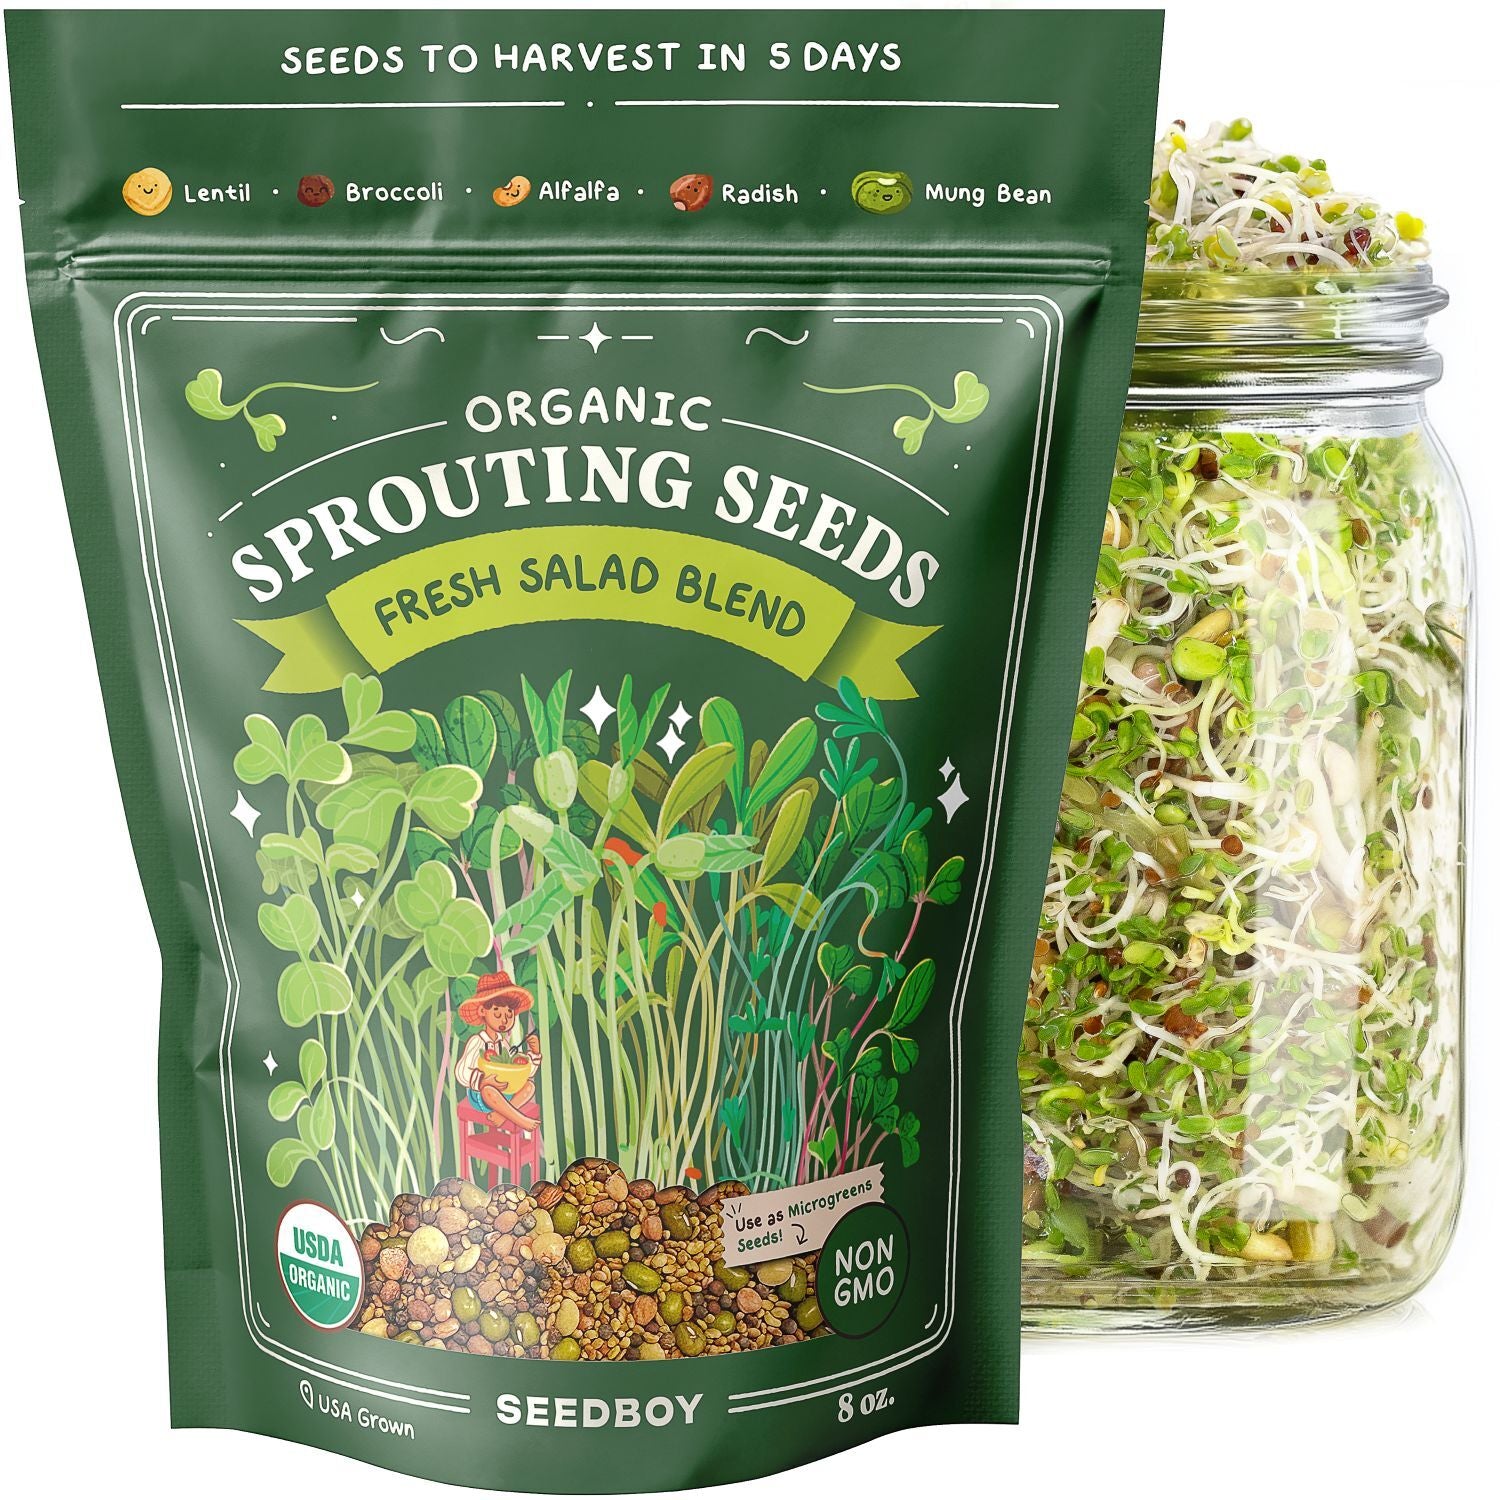
- Look for seeds labeled specifically for sprouting, as these often have higher germination rates and undergo extra cleaning or safety checks.
- Trusted brands or suppliers—domestic or international—usually have stringent quality controls.
-
Use Top-Notch Equipment
- Though a simple mason jar with a mesh lid works well, specialized sprouting systems can make drainage and airflow more efficient. Consider well-designed trays (often from Japan or Europe) that provide uniform moisture and aeration.
-
Daily Routine
- Devote a small window of time each morning and evening to rinse and drain your sprouts. Consistency is key to preventing mold or odors.
-
Keep Records
- Document which seeds, containers, or rinse frequencies yield the best results. Over time, you’ll build a personalized sprouting blueprint.
-
Harvest and Store Properly
- Most sprouts are ready in 3–7 days. Harvest them once they reach your desired length, then store in a sealed container in the refrigerator.
- Enjoy them quickly! Sprouts are at their freshest and most nutrient-dense in the first couple of days after harvest.
In Conclusion
Mold, unpleasant odors, and sliminess can be disheartening, but they’re often just minor setbacks that point to small adjustments in your sprouting routine. By focusing on proper moisture control, thorough rinsing, and consistent airflow, you’ll quickly see a difference in the quality and flavor of your sprouts. The key is prevention: clean your equipment, watch your soak times, and be vigilant about seed density.
Armed with these troubleshooting tips, you’ll be well on your way to sprouting mastery—harvesting fresh, nutritious, and delicious greens from your kitchen counter year-round. Here’s to your next (and best) batch of sprouts!
